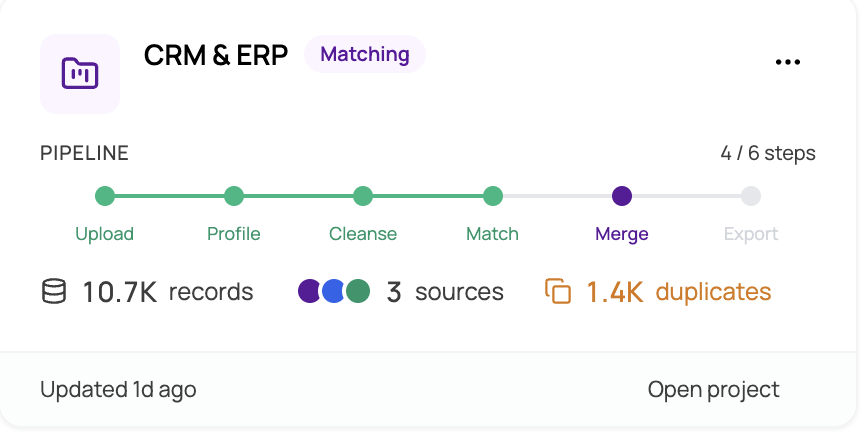
The Data Matching Pipeline
MatchLogic organizes every project around a nine-step pipeline. Each step builds on the output of the one before it, guiding you from raw data to a clean, deduplicated, and merged result. You can always return to an earlier step to adjust settings and re-run later stages.
Pipeline Overview
The following diagram shows the complete flow from start to finish:
- Project Management → Data Import → Data Profiling → Data Cleansing → Match Configuration → Match Definitions → Match Results → Merge & Survivorship → Final Export
Step-by-Step Breakdown
1. Project Management
Create and manage projects. A project is the top-level container for all your data sources, matching rules, results, and exports. You must select a project before accessing any other module.
For more details, see https://help.matchlogic.io/category/182-project-management
2. Data Import
Bring data into the platform by uploading files (CSV, Excel) or connecting to a database or cloud storage service. You can import multiple data sources into the same project for cross-source matching. Each import runs as a background job that you can monitor in real time.
For more details, see https://help.matchlogic.io/category/183-data-import
3. Data Profiling
Analyze the quality and structure of each imported dataset. Profiling reveals column-level statistics including completeness, uniqueness, data type distribution, character composition, common patterns, and outliers. Use these insights to decide which fields need cleansing and which are suitable for matching.
For more details, see https://help.matchlogic.io/category/184-data-profiling
4. Data Cleansing
Standardize and clean your data before matching using a visual flow builder. Drag transformation nodes onto a canvas, connect them, and configure rules such as trimming whitespace, converting case, replacing values, or applying dictionary-based standardization. Cleansing improves match accuracy by ensuring records are comparable.
For more details, see https://help.matchlogic.io/category/185-data-cleansing
5. Match Configuration
Define which data sources should be compared and choose a matching strategy. Options include deduplicating within a single source, matching across two or more sources, or a combination of both. The configuration determines which pairs of datasets the matching engine will evaluate.
For more details, see https://help.matchlogic.io/category/186-match-configuration
6. Match Definitions
Set up the rules that control how records are compared. Map fields between data sources, select a match type for each field (Exact, Fuzzy, Phonetic, or Numeric), and assign a weight that reflects the field's importance. You can create multiple definitions to capture different matching scenarios, such as matching on name and address versus matching on email alone.
For more details, see https://help.matchlogic.io/category/187-match-definitions
7. Match Results
Run the matching engine and review the output. The Summary tab provides a quality report with score distribution, confidence bands, and key statistics. The Detailed Analysis tab lets you drill into individual pairs and groups, inspect scores per definition, and flag records as duplicates, non-duplicates, or master records.
For more details, see https://help.matchlogic.io/category/188-match-results
8. Merge & Survivorship
Determine which record in each group is the master (golden record) and define field-level survivorship rules that decide which values carry forward into the merged output. Operations include keeping the longest value, the most recent, the most popular, or values from the master record. Preview results before committing.
For more details, see https://help.matchlogic.io/category/189-merge-and-survivorship
9. Final Export
Export the processed data to a file, database, or cloud destination. Choose an export action such as suppressing duplicates, flagging them, or exporting only master records. Preview the output before running the export job.
For more details, see https://help.matchlogic.io/category/190-final-export
Tip
You do not have to complete every step in order. Profiling and Cleansing are optional. However, Match Configuration must be complete before you can define match rules, and match results must exist before you can configure merge and survivorship.
What Happens Between Steps
Several pipeline steps run as background jobs, including Data Import, Data Profiling, Match Results, and Final Export. While a job is running you can continue working in other parts of the platform. The job status indicator in the header and the notification bell will alert you when a job completes. For more details, see understanding-background-jobs.
Each completed step is recorded on your project so the platform knows which modules are available. Locked modules appear as grayed-out icons in the sidebar. See pipeline-locking-and-module-availability for specifics on when each module becomes accessible.