Building a Cleansing Workflow
Building a cleansing workflow involves dragging transformation nodes onto the canvas, connecting them in the desired order, and configuring each node's properties. This article walks you through the complete process of assembling a workflow from scratch.
Step-by-Step Guide
-
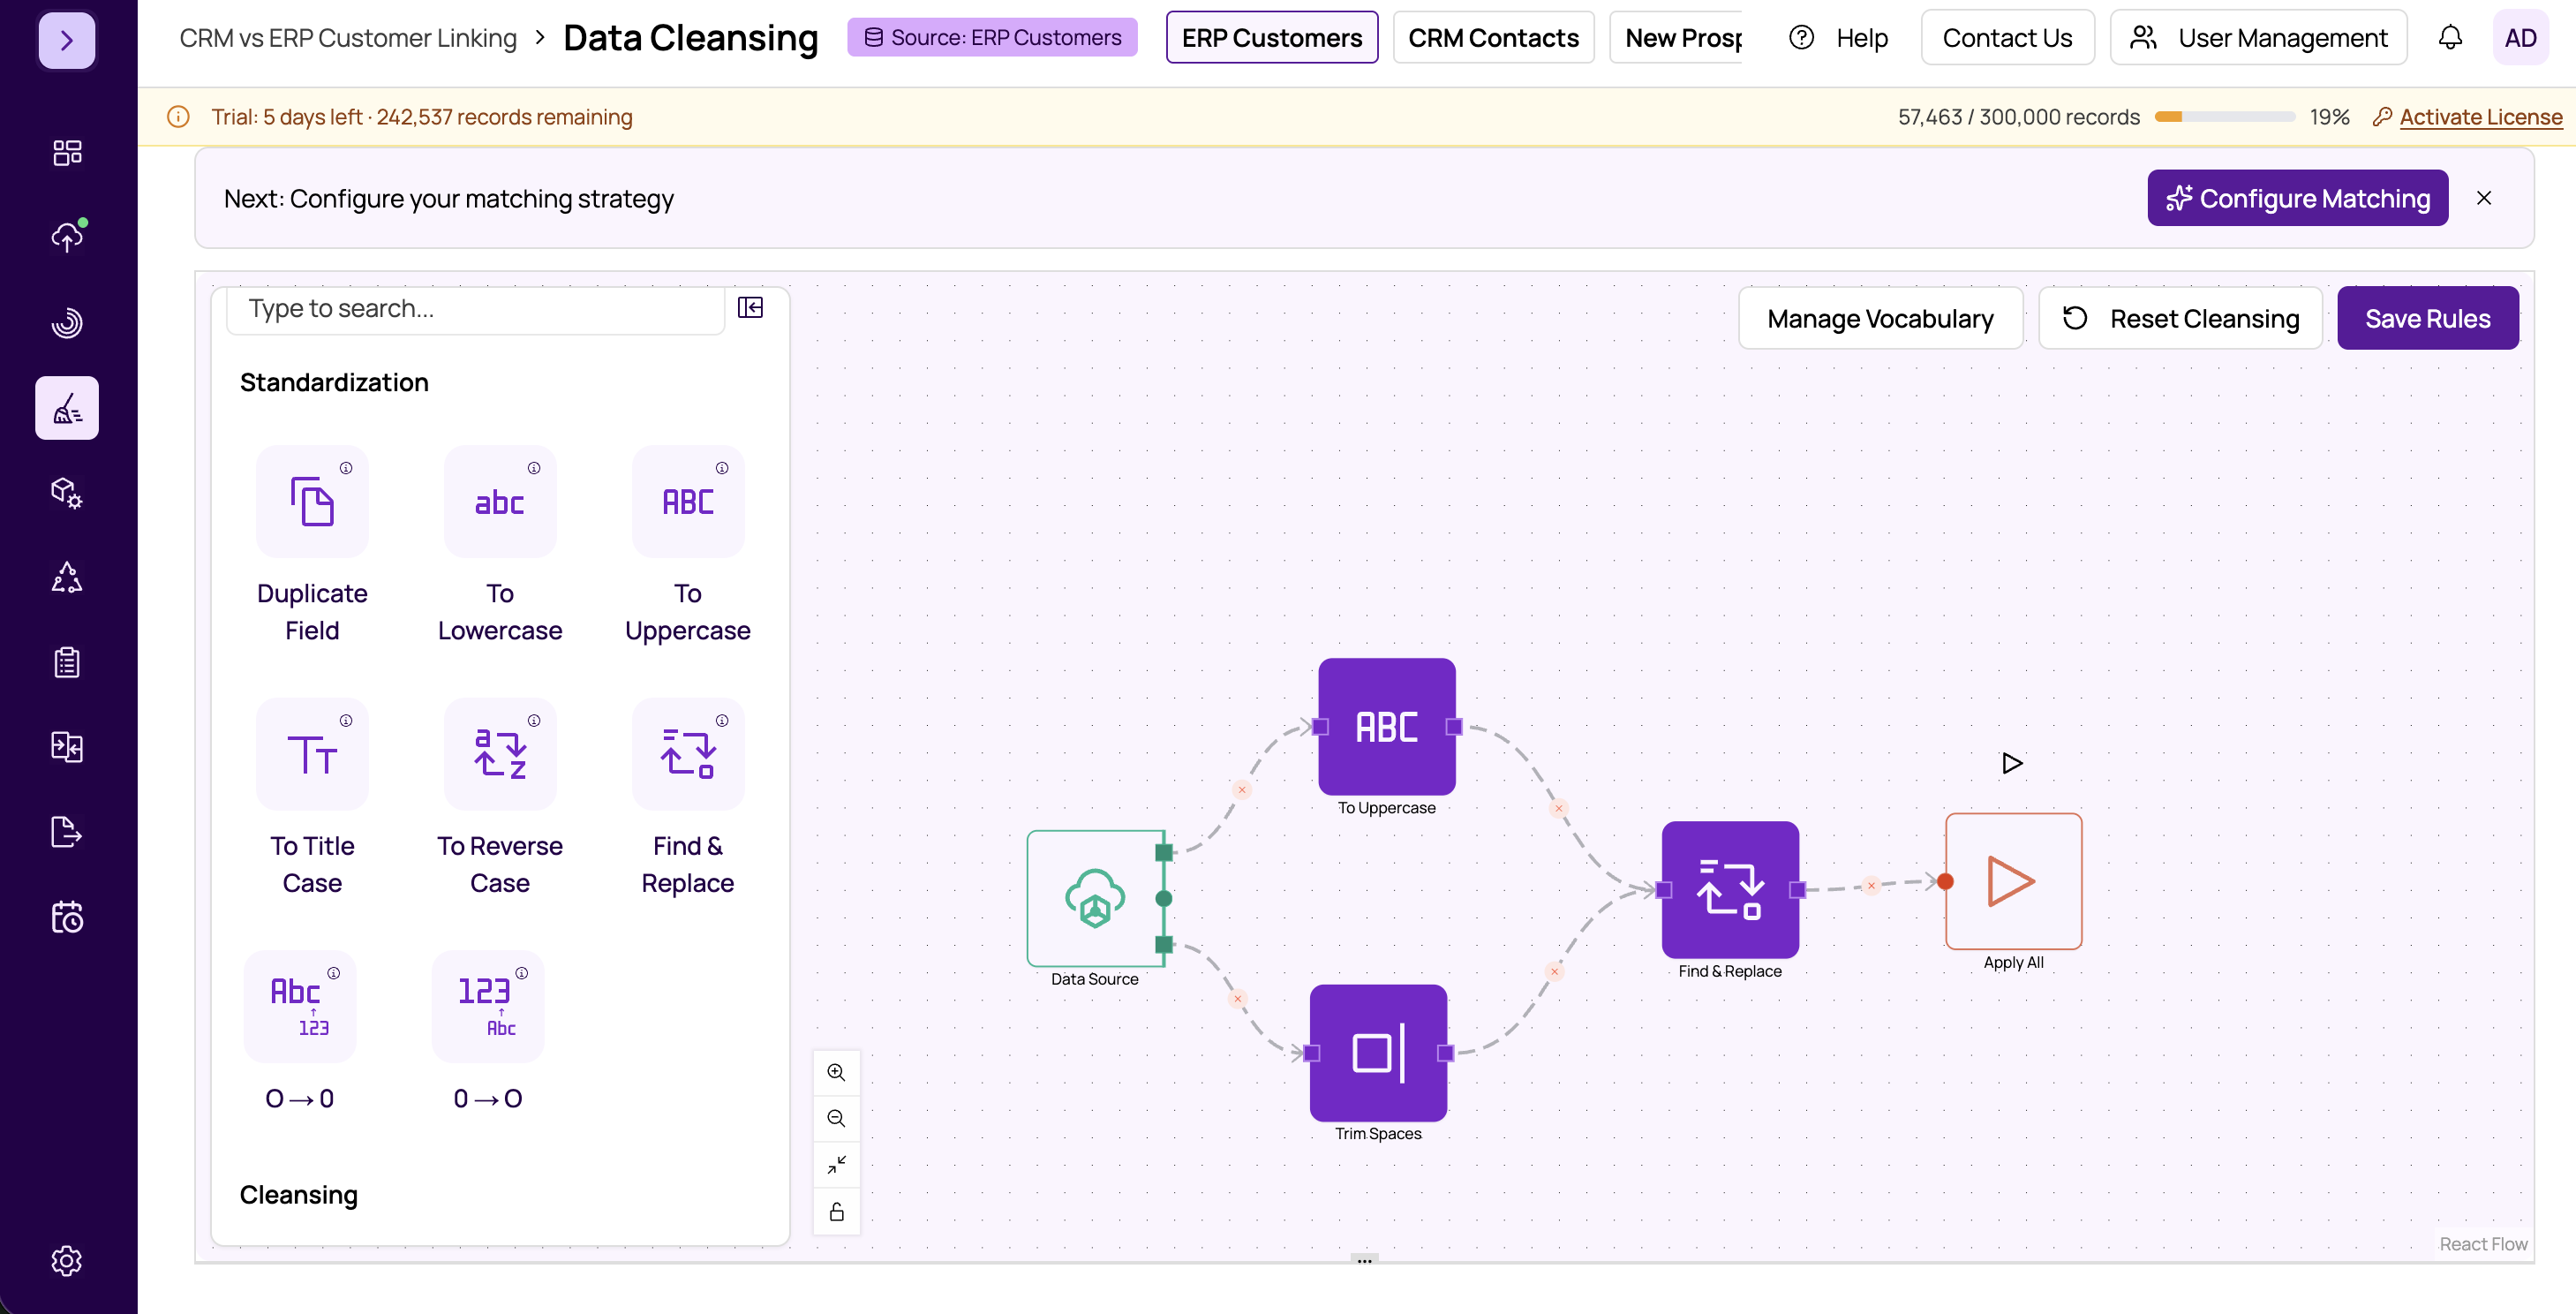
Open the node sidebar
The left sidebar displays all available transformation operations grouped by category (Standardization, Cleansing, Smart Operations). Click a category to expand it, or use the search bar at the top to find a specific operation by name.
-
Drag a node onto the canvas
Click and hold on the operation you want, then drag it onto the canvas. Release the mouse button to place the node. You can reposition nodes at any time by dragging them to a new location.
-
Connect nodes together
Each node has connection handles -- small circles on the edges of the node. To create a connection, click and drag from the output handle of one node to the input handle of another. A line (edge) will appear connecting the two nodes, indicating the data flow direction.
-
Configure node properties
Click on any node to select it. The properties panel on the right side will display the configuration options for that node type. At minimum, you will need to select the target field (the column to transform). Some nodes have additional settings like replacement values, patterns, or dictionary selections.
-
Repeat for additional transformations
Continue adding nodes for each transformation you need. Connect them in sequence so data flows through each operation in the correct order.
-
Preview results
Check the bottom preview panel to see how your transformations affect the data. See #previewing-cleansed-data for details.
-
Save your workflow
Click Save to persist your workflow. See saving-and-loading-workflows for details on saving and restoring workflows.
Connection Rules
When connecting nodes, keep these rules in mind:
- Data flows from the output of one node to the input of the next.
- A node can receive input from one or more upstream nodes.
- Nodes execute in the order determined by their connections, from the Start node toward the End node.
- You cannot create circular connections (loops) -- the data must flow in one direction.
Selecting Target Fields
Most transformation nodes require you to select a target field -- the column that the operation will modify. The field selector dropdown in the properties panel lists all columns available from the datasource. Choose the field you want to transform.
Ordering Matters
The order of operations in your workflow affects the final result. Consider this example:
- Trim whitespace, then uppercase: " john " becomes "john" then "JOHN"
- Uppercase, then trim whitespace: " john " becomes " JOHN " then "JOHN"
Both produce the same result in this case, but for more complex operations (like replacing text, then removing characters), order can produce very different outcomes. Plan your workflow sequence carefully.
Tip
If you need to apply the same set of transformations to multiple fields, add separate nodes for each field. Each node operates on one target field at a time.
Important
Remember to save your workflow before navigating away from the page. If you have unsaved changes, a dialog will warn you, but it is good practice to save regularly as you build complex workflows. Use undo-redo-and-workflow-history to reverse mistakes.